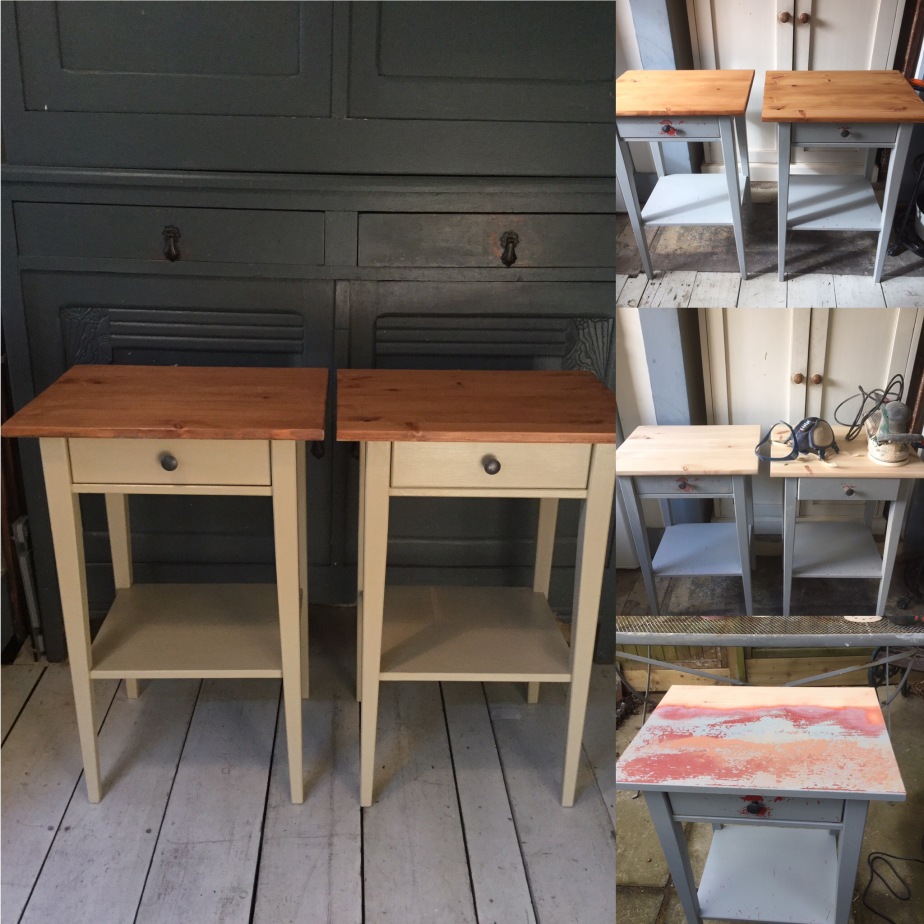
I was recently commissioned to refurbish a pair of IKEA Henmes Bedside Tables. The customer is one of my Instagram followers, and had commented favourably on a few of my earlier pieces.
The bedside tables were a number of years old, and were looking somewhat worn and dated, with peeling paint work. It could have been so easy to throw the old ones out, and purchase a new set from IKEA. He was keen though to explore what could be achieved with the old tables.
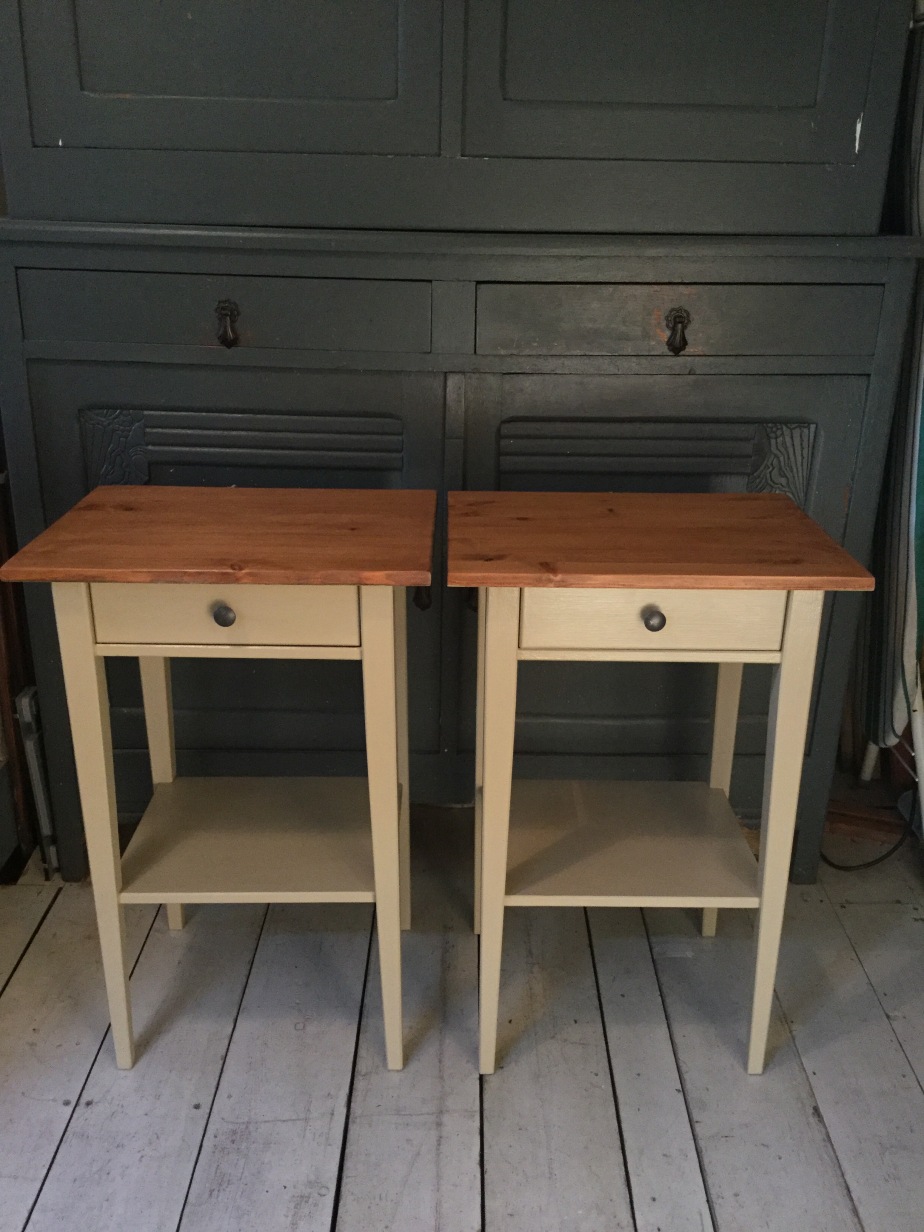
We discussed a number of options, but finally agreed on a sanded top, with painted legs and sides.
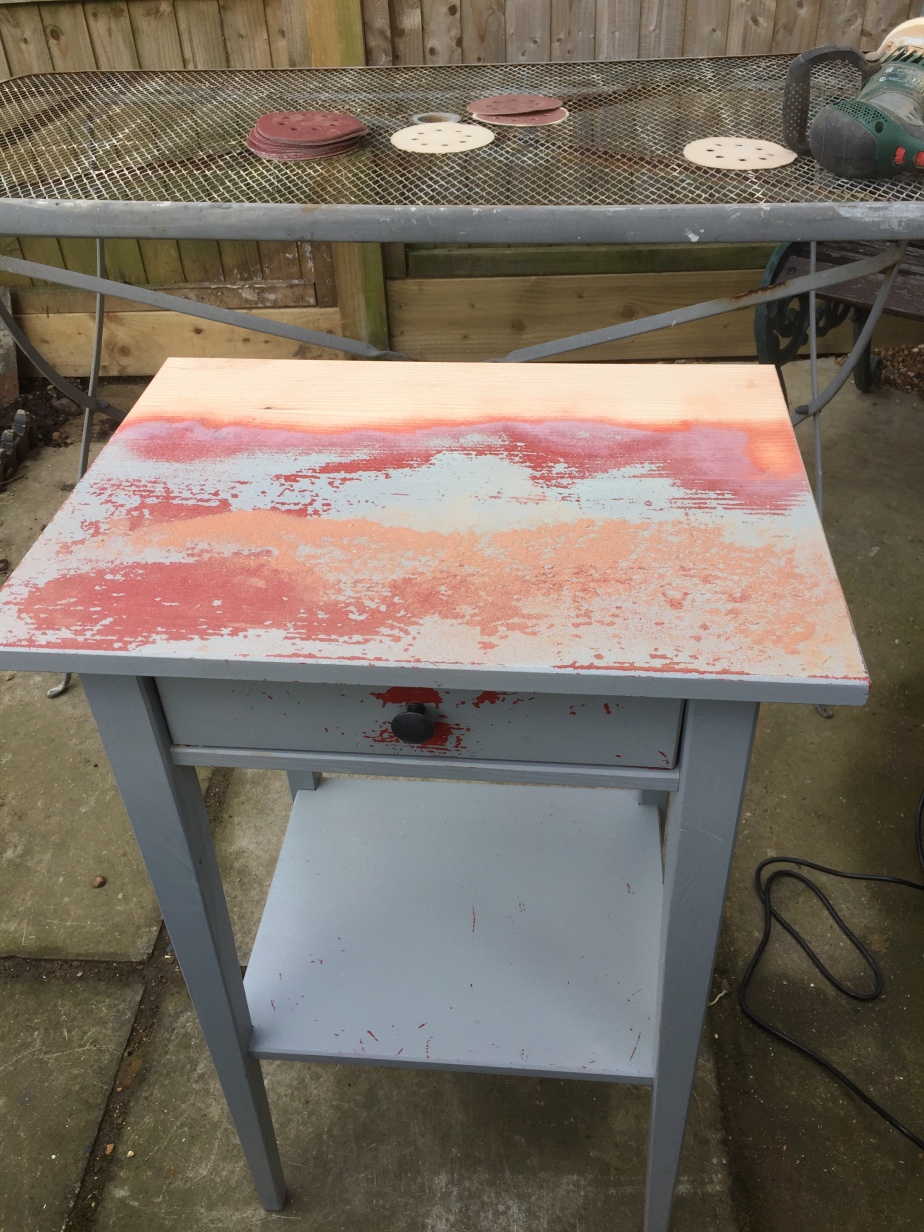
Although the units were grey, there was also evidence of a red base coat in places. I started with a 60 grade sandpaper to remove several layers of paint, and then gradually worked my way from through to finish with a 240 grade paper, to give the top a smooth surface.
The top was then treated with diluted wood stain and wax finished. I find that diluting the wood stain helps to keep the wood grain visible.
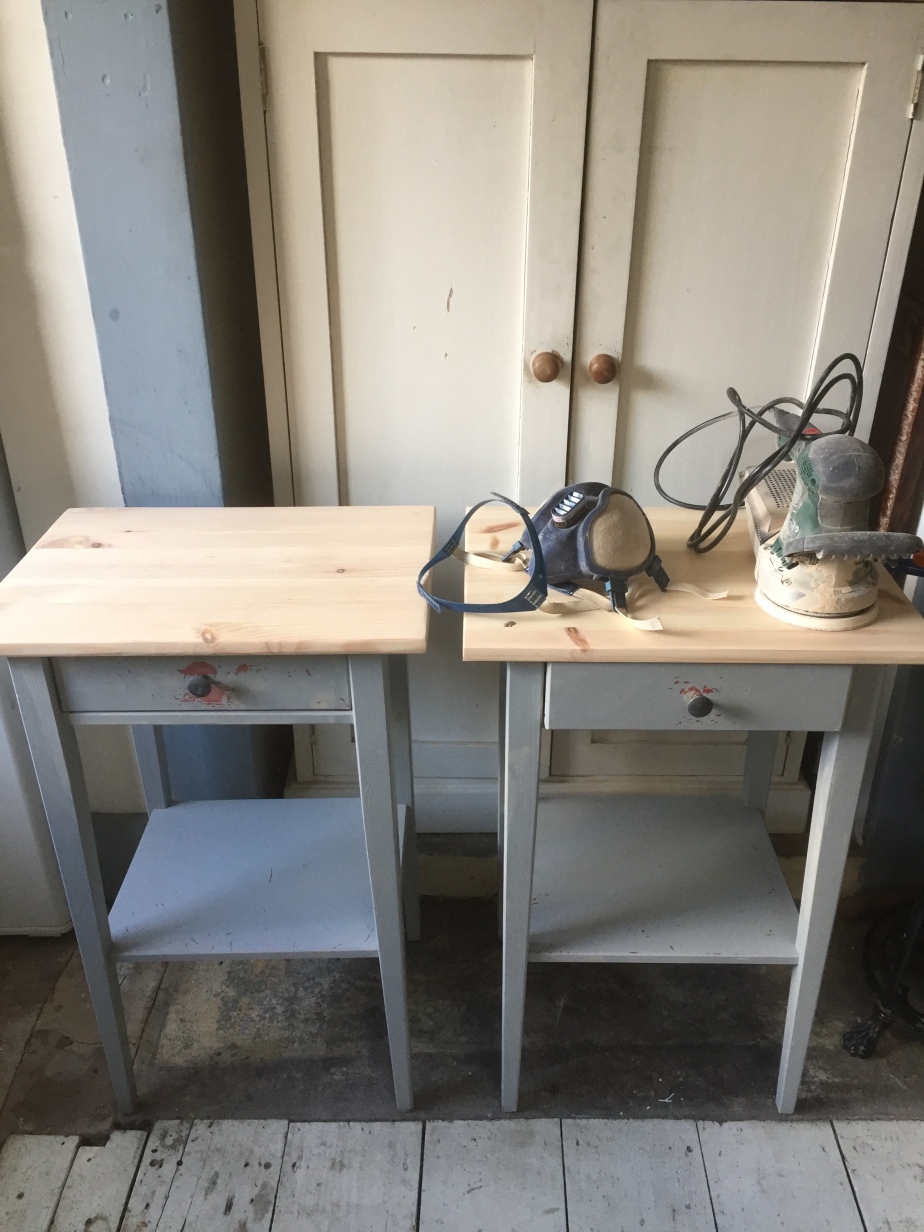
I’d sanded the legs and sides lightly by hand, using 120 grade sandpaper, prior to painting. This helps to remove old flaking paint, as well as providing a good surface for the new paint to adhere to. It’s not strictly necessary with chalk paint, but I was aiming for a smooth finish.
Two coats of Annie Sloan Chalk Paint were followed by two coats of matt varnish. My usual preference is to wax over varnish. I chose varnish in this instance, to give the finished pieces greater resistance to knocks and bumps.